
Here's my current storage. I have an antique dresser drawer hung on the wall and the CD cases lined up along the bottom shelf. My challenge was that not only was I running out of space but the CD cases would topple over as I pulled one, two, three, six sets off the shelf as I used them. I also had several sets that were fairly well smooshed into their cases. They needed some breathing room!
I'm a fairly organized person and I've learned what sort of organization and storage containers work best for me. I like drawers and I like to flip through files. I found this Youtube video and I really liked the idea.
So, here's my process I went through to get my stamps from their CD cases into a pocket.
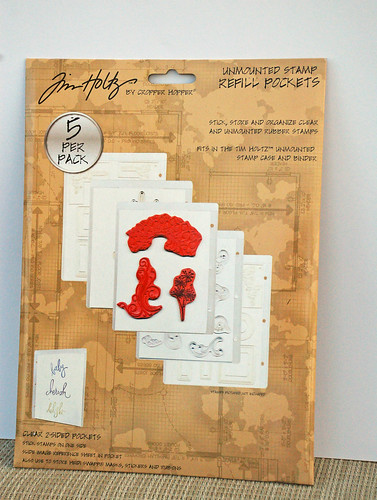
I bought lots of these Tim Holtz Unmounted Stamp Refill Pockets. I bought mine at Archivers. They come 5 in a pack for $3.
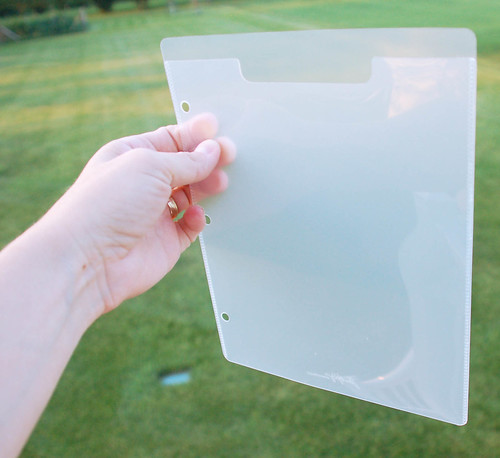
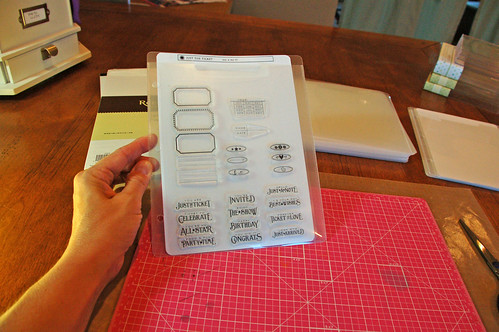
This is what the pocket looks like.
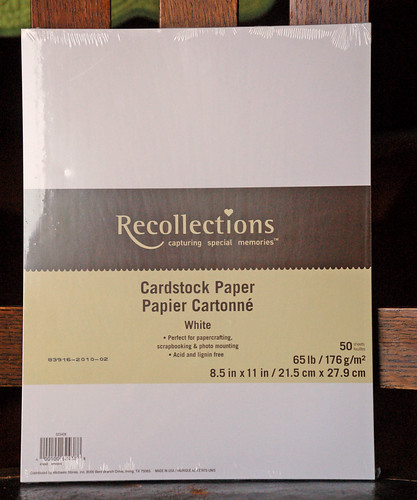
You'll need some white cardstock. I bought the cheap stuff at Michael's. The cardstock is to place behind your stamps for two reasons - one, so the stamps don't stick to the pocket, and two, so you can see the stamps better. I cut rectangles of 6" x 8-7/16" and then rounded all four corners.
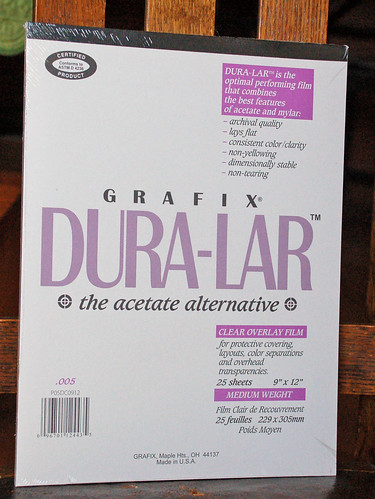

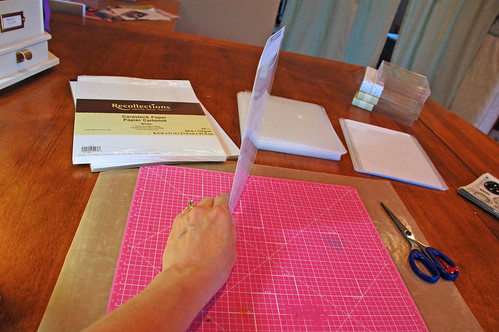
Next is the acetate. I found this at Michael's in the drafting and art supplies area. It is the PERFECT size. A match made in heaven! :) First, I cut the acetate sheets in half so they were 9" x 6". The sheets were just a bit long at 9" so trimmed them down to just under 8". And, again, I rounded all four corners with my Corner Chomper. I wanted the acetate sheet shorter than the white cardstock because I put my label at the top of the white cardstock and I didn't want the stamps blocking the name label. Make sense?
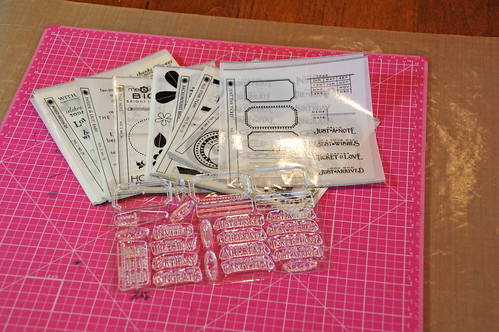
With my latest PTI order I ordered lots of index labels for the sets that I already own.
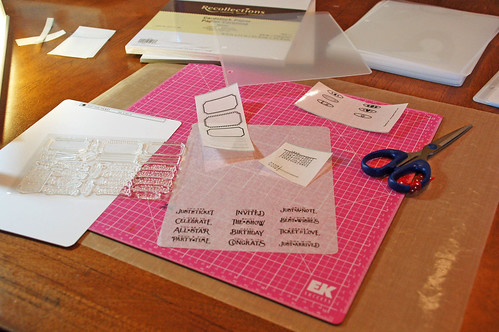
Now it's time to get down to business of cutting the label and fitting the stamps to the sheet. For some sets, such as this smaller, $15 set of Just the Ticket, it was pretty easy to figure out how to place the stamps on the 6" x 8" sheet. For some of the bigger sets it was a bit more tricky. In the picture I'm cutting apart the labels and then sticking them to the acetate. The acetate appears to be white (even though it really is clear) because it is backed by tissue paper. Each acetate sheet in the package is separated by tissue. I found that it was easier to see what I was doing if I left the tissue backing until I was done.

Remove the tissue paper and flip the acetate sheet over and then start sticking the stamps to the 6" x 8" sheet.
Here's the finished product. The name label of the stamp set gets adhered to the white cardstock, which is just a hair shorter than the pocket itself. Place the acetate sheet on the white cardstock and slip it into the pocket.
See how much thinner this is! For some sets, such as All Star Team, All Star Team Additions, and Have A Ball, I have all three sets in one pocket. All Star Team is on the front, Additions and Have a Ball are on the back. They're all together in their happy family. :)
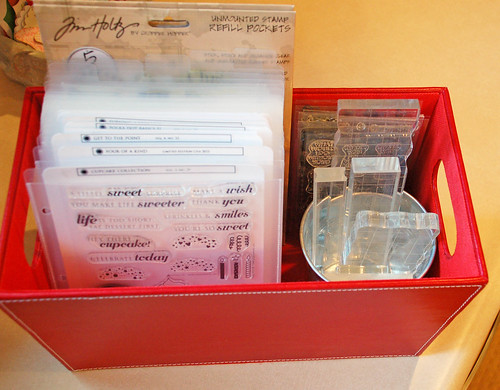
Here's my basket of stamps now. When I took the picture I was only partly done so it's definitely looking more full now. I bought the basket at Hobby Lobby some years ago. It's wide enough so that the pockets can go on the left and a tin pail sits inside the basket, holding my acrylic blocks.
Another suggestion discussed on the PTI forum is for stamp sets that have matching dies to include the dies on the backside of the cardstock so that everything is together in one pocket. Brilliant idea, no? I store my dies another way but I'll definitely keep this idea in mind should I ever decide to change.
So far I'm really loving my new system. I hope this helps some of you who are looking for another way to store your clear stamps.
24 comments:
Oh this is a super idea!!! I too struggle with only having a small space for my stamps so thanks for the inspiration!
Hugs,
Aimes
x
Such a neat job!! I think this is wat I am going to do when my collection increases and I have storage problem!
great ideas...love hoe neat and clean it all looks...must have been a lot of work!
Genious idea! Thanks for sharing!
Love this - it looks so neat and organized! I have my other clear stamps in binders but hadn't figured out how to put my PTI ones in neatly, so have just been using the CD cases. I wish we had an Archiver's in Canada - the price of those sheets is great. Thanks for the tip, I'll have to see if I can get those here...
Great idea, Jen!Looks a lot thinner and probably fit in a lot more sleeves in a basket or a box than CD cases. Love it. Thanks for sharing!
I love this!! Your step by step explanation and pictures are fantastic. I'm going to RUN to the store and purchase those items. Thanks for sharing! :)
SO if you aren't using that dresser drawer anymore can you send it to me? I am drooling here! Gorgeous!
oh and I like how you now store your stamps...very clever.
A great idea Jennifer and nicely presented. I have 100 and cough cough sets... the thought of redoing them makes tears come to my eyes, but if I ever need to at least I know where to look.
love this storage idea!! I have stamps in a binder from another company like that and I love it so much better than the CD case (of which many are broken!!)...thanks for the inspiration and link!! And sorry about enabling you with the ribbon!! LOL
What an awesome system you have!!! I may have to try this!!!!
AWESOME....thanks for the detailed explanation including where you got these from. Right not I just have mine on the acetate that they come on and I love it my only problem is not knowing if I have left a stamp on my workspace after I am done with what I am working on. Always wondered what you would do with the extra labels that you could get. Guess you answered that question for me. i keep my originals labels for quick reference to flip thru. I think I might be moving to this idea. Love you blog. Thanks for sharing this great idea.
Great idea!!! Thanks for sharing this!
This is a fabulous storing system. Thank you for the detailed photos and info.
Thank you so much for sharing! I have quite a few stamp sets and over time they do take up a great deal of space. I love the pockets and thanks for your detailed instructions. This could be a great project after Christmas but before making Valentine goodies.
I was so inspired by your idea that I just completed my first sheet! I love it already and have had the chance to purchase the folder to put it in. I have been pondering for a long time a better way to oragnize my PTI habit and you solved it! Thanks for sharing your wonderful idea and I look forward to doing this with many sets to come!
What a fabulously NEAT idea! LOVE it; I too have many broken CD cases and hate that every time I open one the lid pops off! This definitely will be my next organizational project (just don't tell my hubby)as I've just completed my Spellbinders' die reorganization. This might put him over the edge, though I don't have that many PTI sets, sadly! TFS!
This is an excellent idea, and thanks for so many picture. I just put my order in for the Timmy folders. For now I will have to try it without the index labels, but I appreciate the step by step you have done here.
This is great, thanks for the detailed pictures. I love the cd shelf . Thanks for taking the time to share.
**GASP**
I am LOVING this idea! I SOOOOOO struggle with stamp set organization and am definitely out of room with the space that I have now. This is an awesome idea!
This looks like a fantastic way to store the PTI stamps, I too if I keep shopping will run out of room soon...LOL thanks for sharing...hugs
Will they hold rubbers stamps that have been put on cling foam or are they too thin?
I saw this post shortly after the announcement that the cd cases were being discontinued. Apparently a lot of other people did too and there were none of the Tim Hotlz pockets to be found. I decided to improvise by using transparency sheets from Office Depot. I mounted the index labels directly onto the transparencies and the stamps onto the back of it. I separated each stamp page by adding a sheet of copier paper in between. Unfortunately, no one told me that you can't put clear stamps on just any surface. Any time i remove one of the stamps from the transparency sheet, the back of the stamp has a cloudy, less adherent texture. They work, but the damage seems to be permanent. I don't know if the damage will increase with time. Have you had any problems with the Dura-Lar?
Thanks for this tutorial! I have my clear stamps on heavy acetate...what they came with. They are then in a page protector, but the page protectors are way to thin for me.I really need to get organized.
Post a Comment