WARNING: very photo heavy post!
If you have any questions just post a comment and I'll get back to you. I'll try to include what I know but I'm sure I'll leave something out.
Over the last 10 years since we moved into our house I've moved my craft space from one room to another and I've also changed the layout at least twice and changed my storage containers. However, we have now finished our basement and I have permanent cabinets. Yea! I'm so excited about it and would love to give you a little tour.
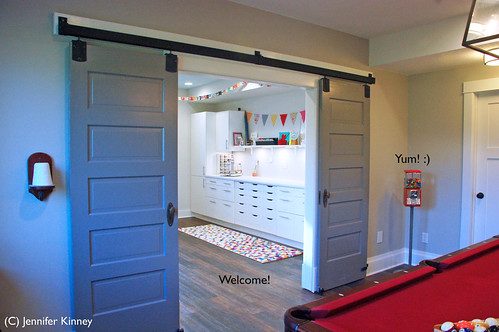
So, let's start with the outside of the room. My craft space shares a room with our office in the basement. It is behind these barn doors, which we salvaged from an old house that was being torn down.
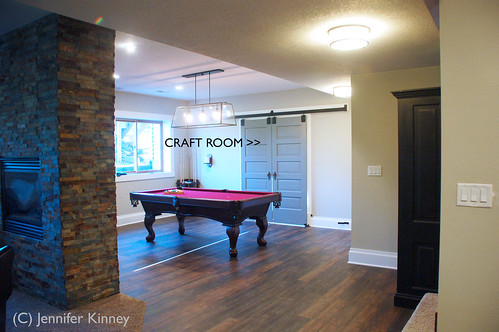
And here's the view peeking in.
I *love* having a fireplace in here. It definitely keeps the chill out, especially on those cold winter days. I still need to get a rug and do a little more decorating around the chaise but I like relaxing here (as do the kids). (The morning sun gets a little bright in here - I love it but it does make for tricky photos).
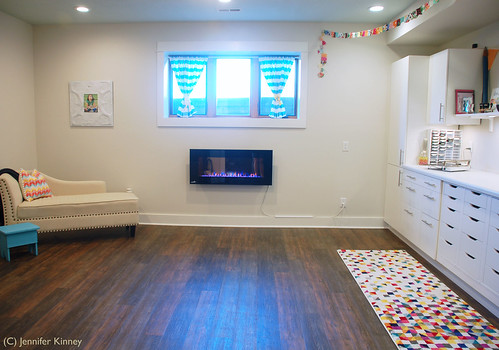
Wall color: Revere Pewter (Benjamin Moore) @ 25%
Ceiling: Palladian Blue (Benjamin Moore) @ 75%
Flooring: Adura luxury vinyl plank by Mannington in Iron Hill Coal (installed by me!)
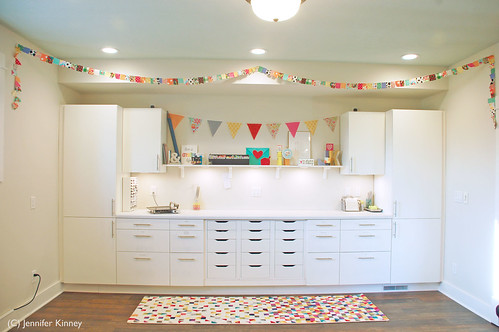
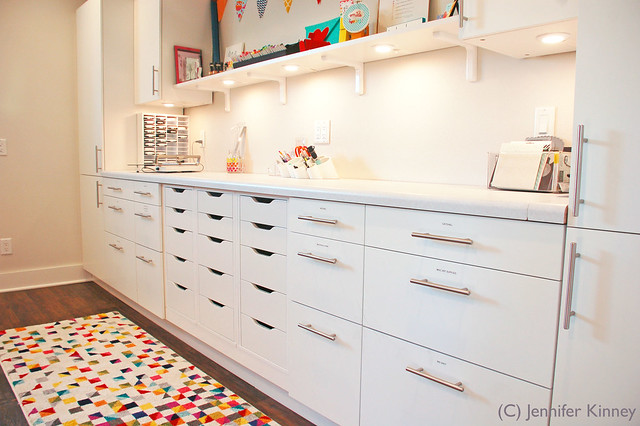
Cabinets: IKEA Sektion, Haggeby style
Counter: a steal of a deal from Lowe's. It's laminate but I don't know what color it is. It is a mottled light gray.
Fireplace: Continental from Menard's
Chaise: Home Goods
Rug:
Albina Triange Mosaic from RugsUSA
Banners: the one with the larger pennants against the wall was made by me; the one with the smaller pennants draping across the whole room was purchased from the
Whatever Craft House.
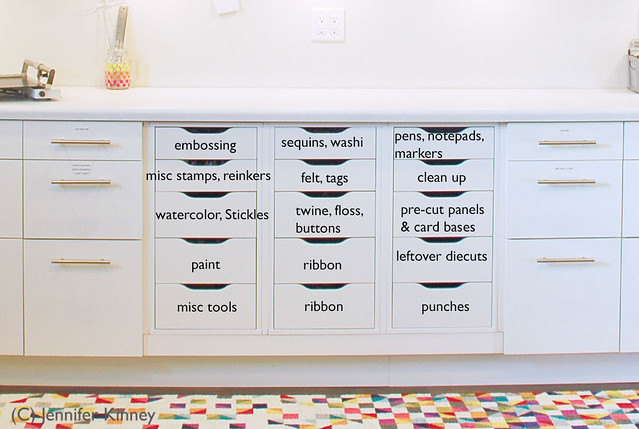
I have three Alex cabinets in the middle on the bottom and then regular cabinets surrounding those. The small drawers work so well for craft supplies and they are also a little easier on the wallet (win, win!).
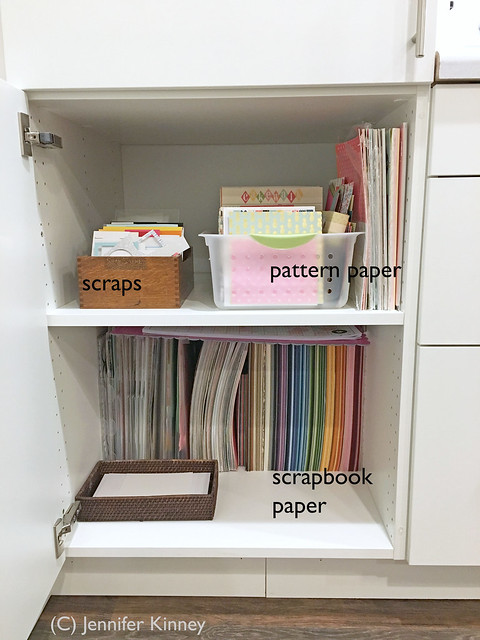
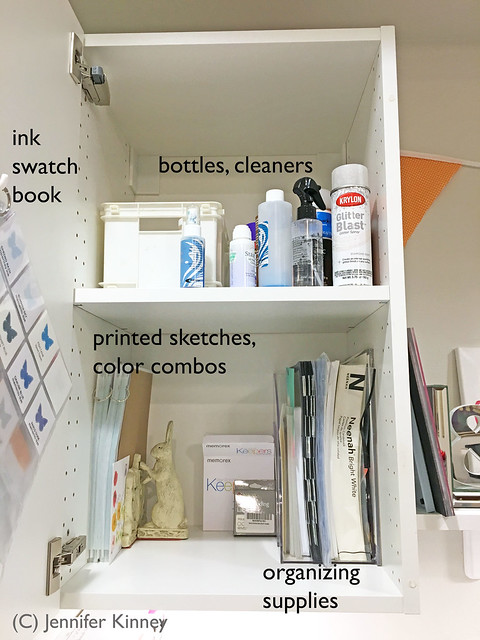
Here's what I have in each cabinet or drawer. I'll save the detailed storage and organization for another post but this will give you a general idea of what's in each drawer.
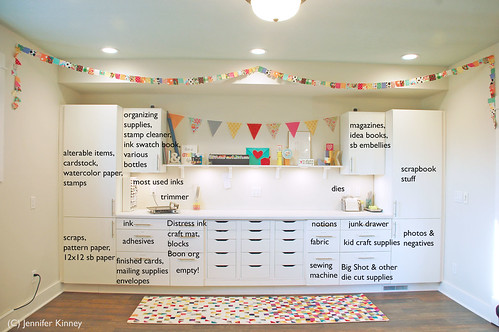
Pantry unit on the left:
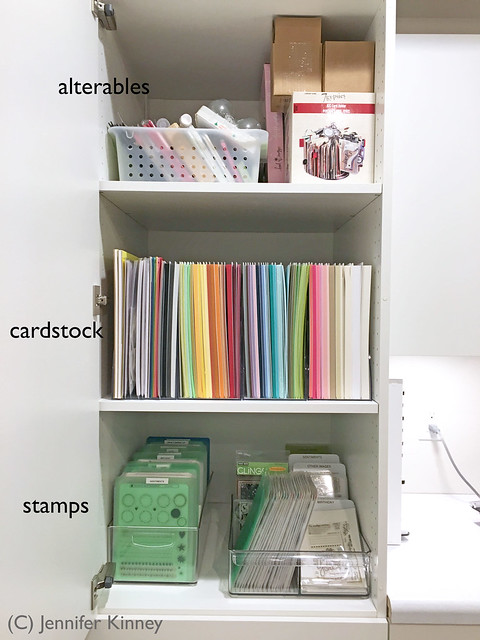
Upper cabinet on the left:
Lower cabinets (the photos will be the drawers as you move top to bottom, left to right):
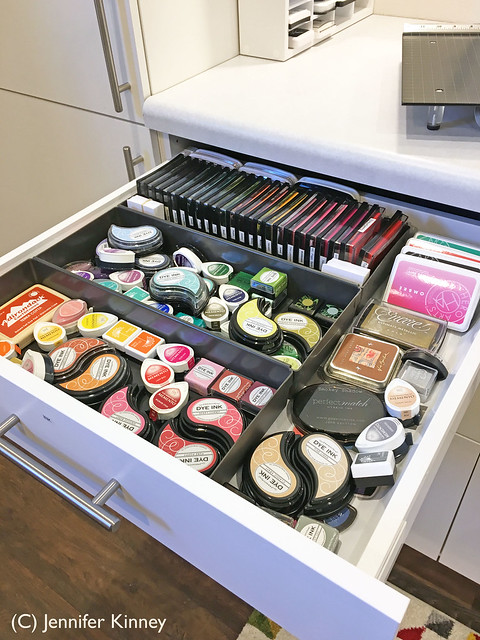
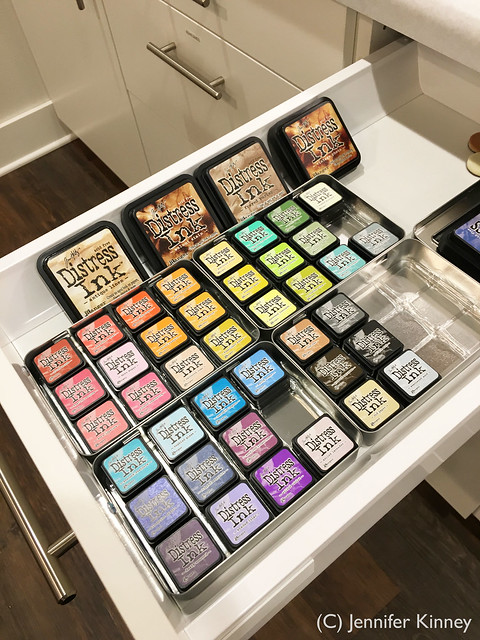
Inks. My most used ink are in a storage unit (by Organize More) on my desk. The ones in the drawers are used less frequently. The pigment ink is used even less frequently so it's in the back bin. The front bin contains the red/pink/orange/yellow inks and the middle bin contains green/aqua/blue/purple ink.
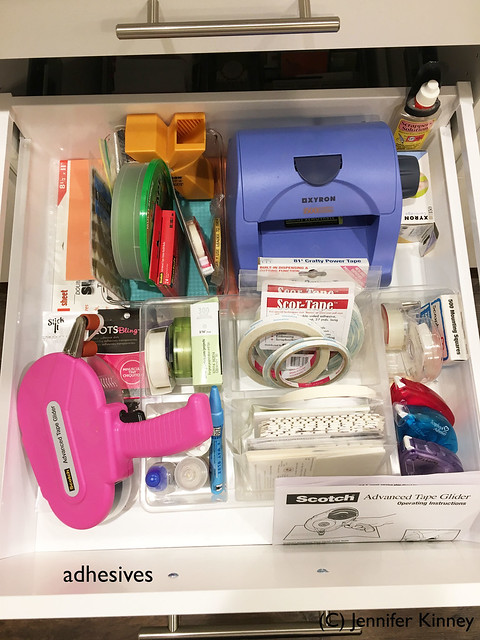
Adhesives.
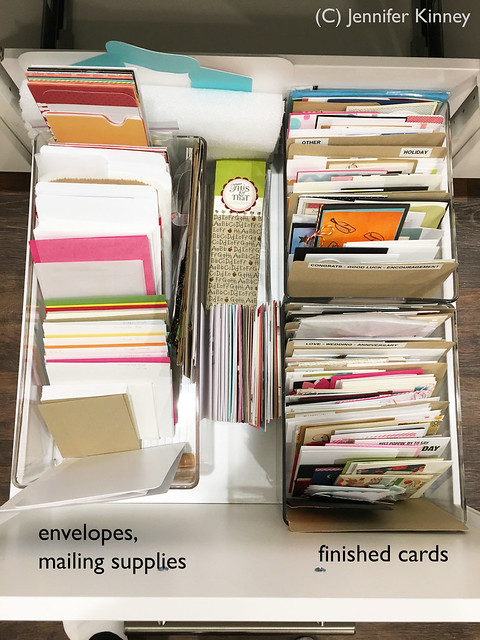
Envelopes, mailing supplies, finished cards.
Distress inks.
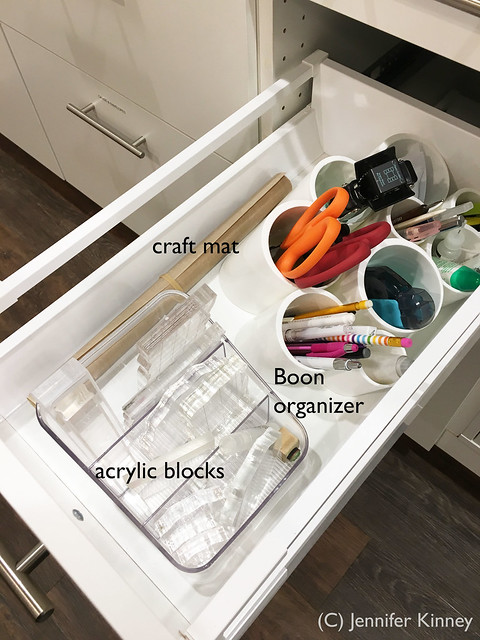
Craft mat, acrylic blocks, and Boon Organizer. When I'm working I'll leave the Boon organizer and the blocks on my desktop but I love being able to put them in a drawer when I clean up so I have an empty desk top.
And then below that is an empty drawer. I'll spare you a photo of an empty drawer. :) Guess I need to buy more goodies to fill it up.
Alex units:
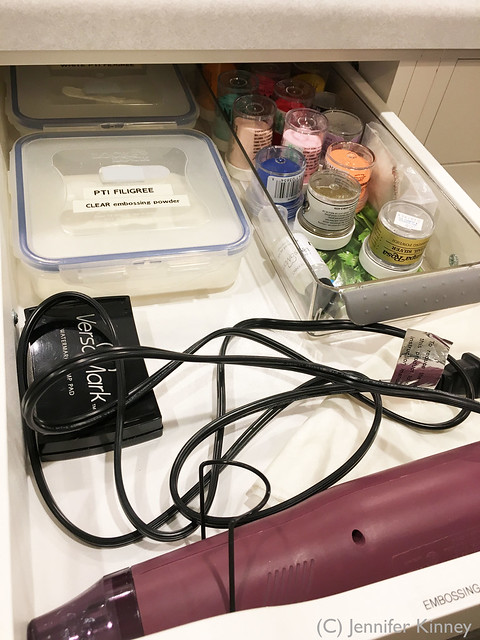
Embossing supplies - heat gun, powders etc.
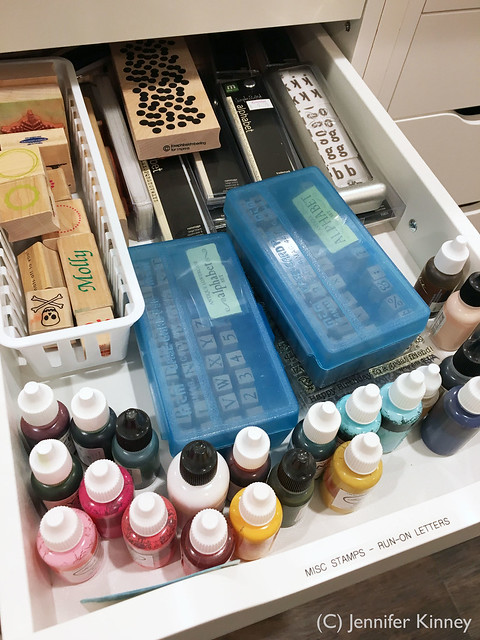
Misc wood mount stamps, rub-on alphas, reinkers.
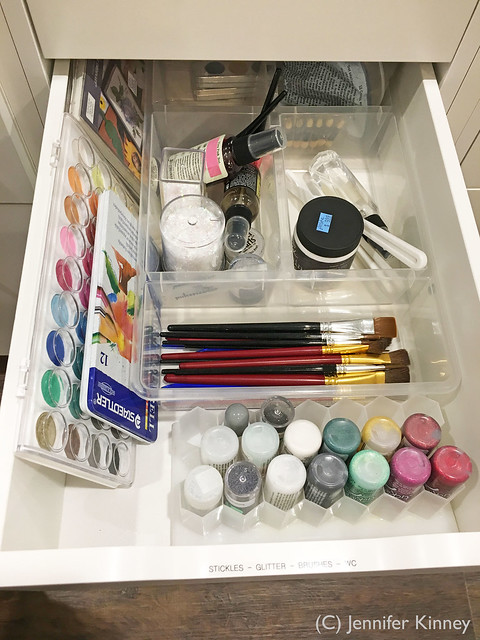
Watercolors, brushes, Stickles, embossing paste, glitter.
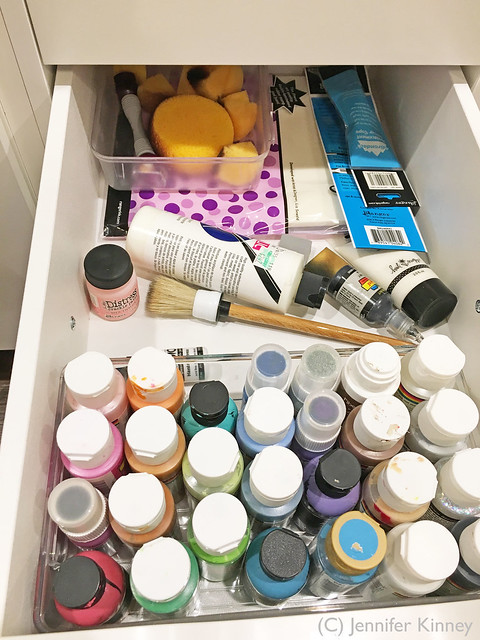
Paint.
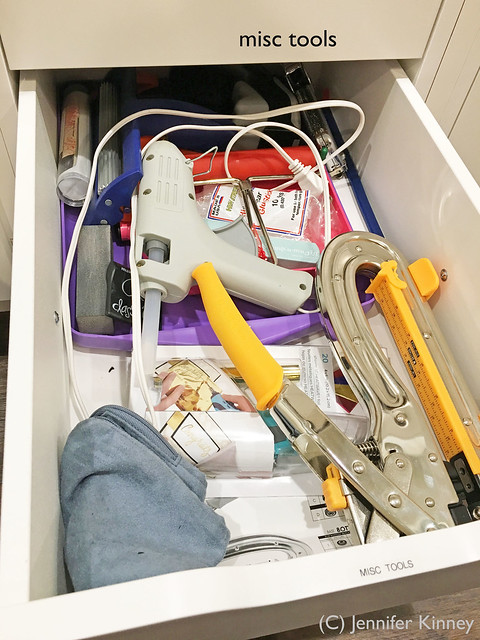
Misc tools.
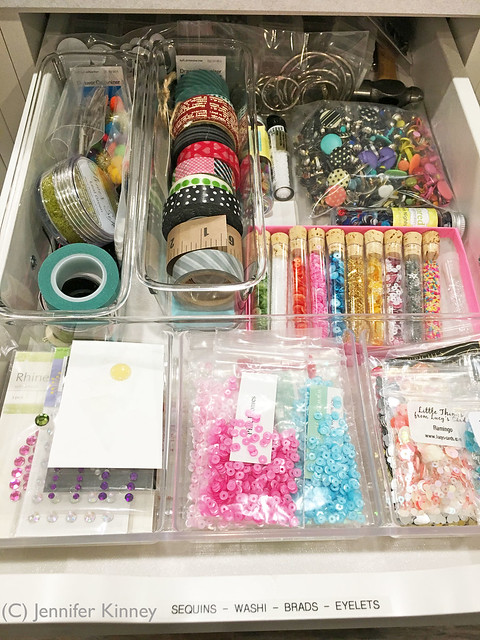
Sequins, gems, washi tape, eyelets, brads, misc embellishments.
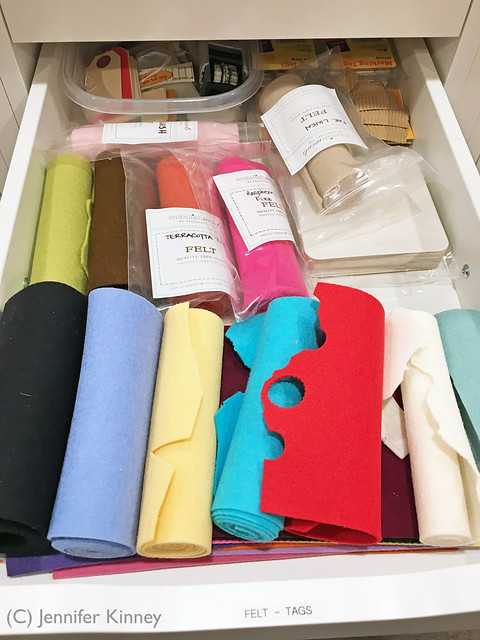
Felt, tags.
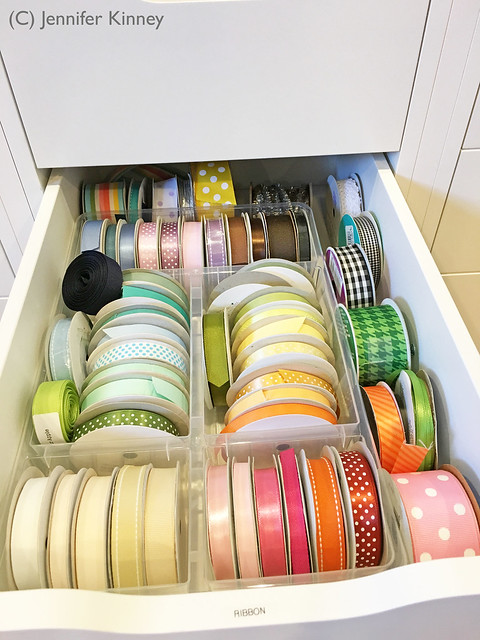
Ribbon drawer 1.
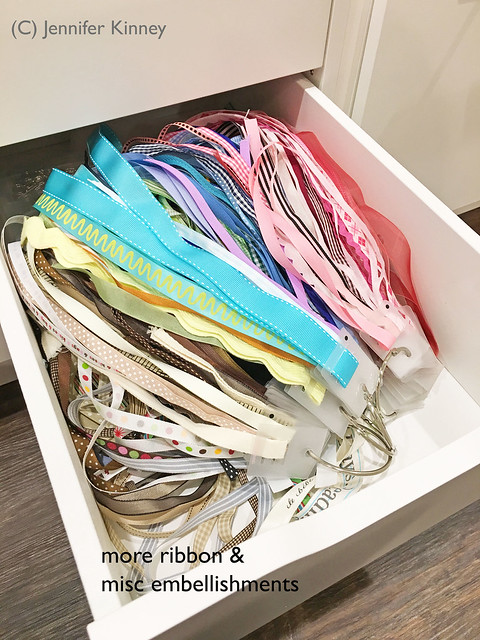
Ribbon drawer 2. I don't think I'll run out of ribbon any time soon...
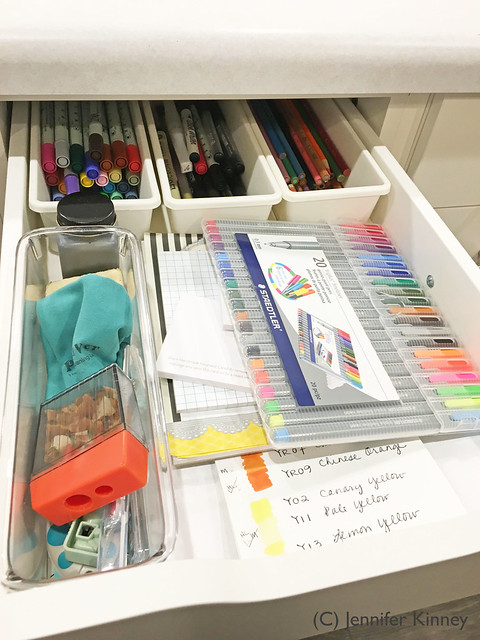
Colored pencils, markers, pens, notepads.
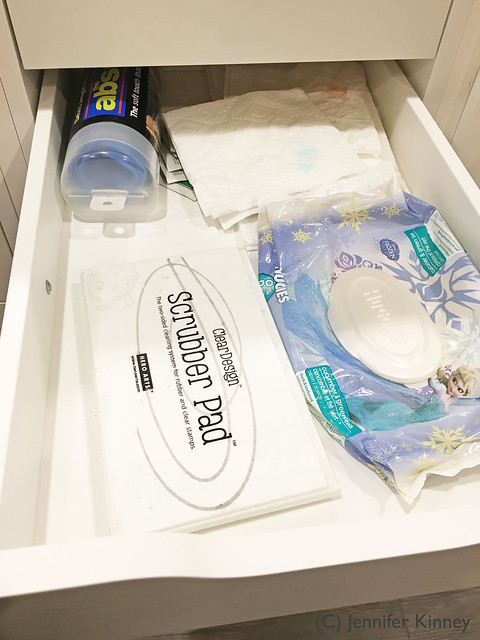
Clean up.
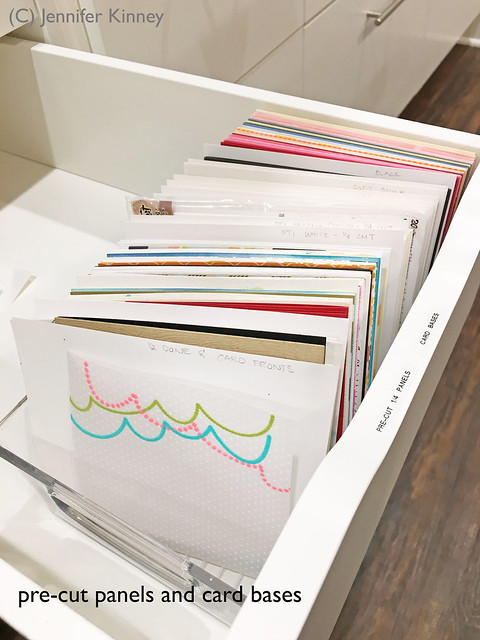
Pre-cut card fronts and card bases. I also store those card fronts that I've started but not finished (like I did some watercoloring or ink blending or something).
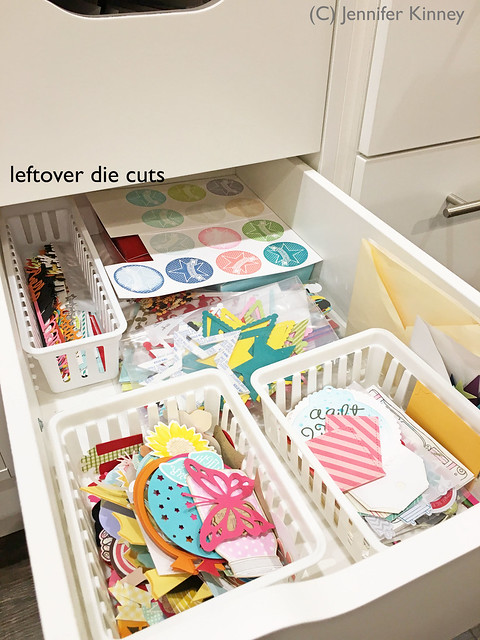
Leftover die cuts.
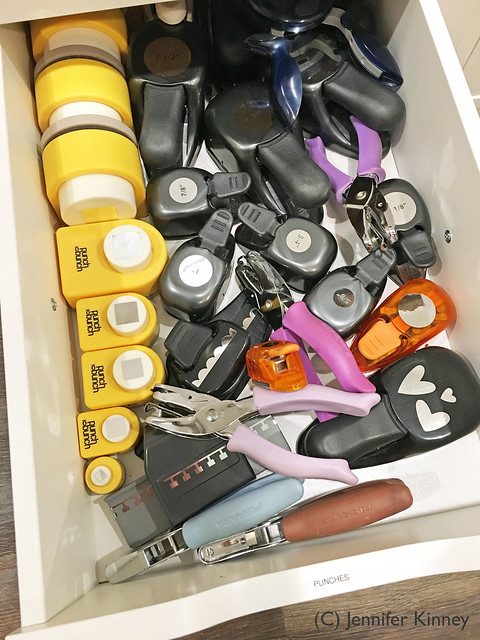
Punches.
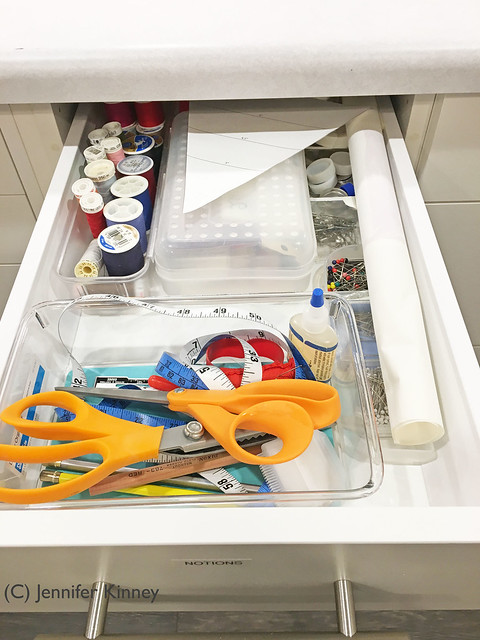
Sewing notions.
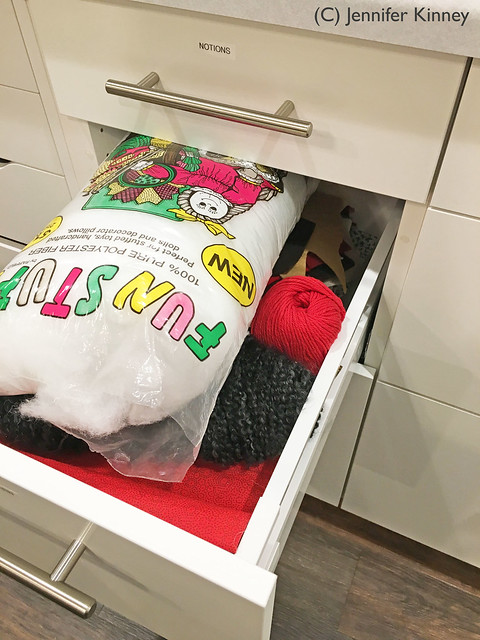
Fabric, yarn, stuffing.
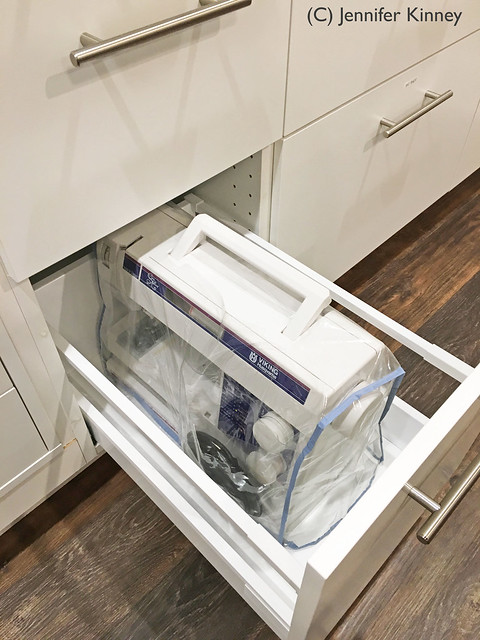
Sewing machine.
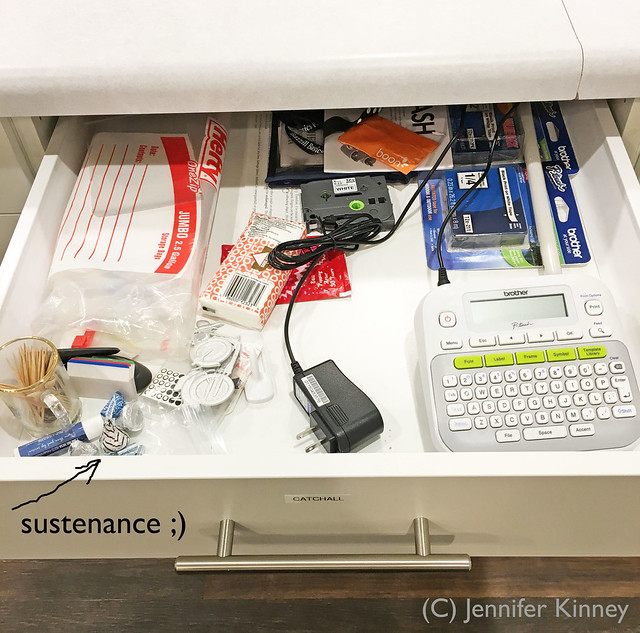
Junk drawer. Every room has one.
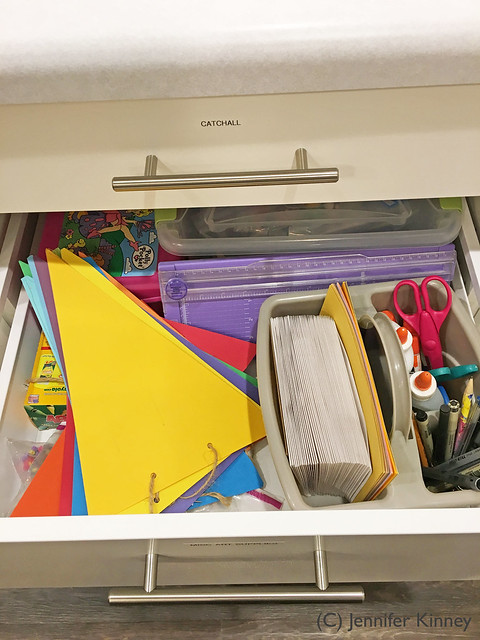
Kids' craft supplies. My kids are older now and rarely use this but I haven't thrown it out yet "just in case."
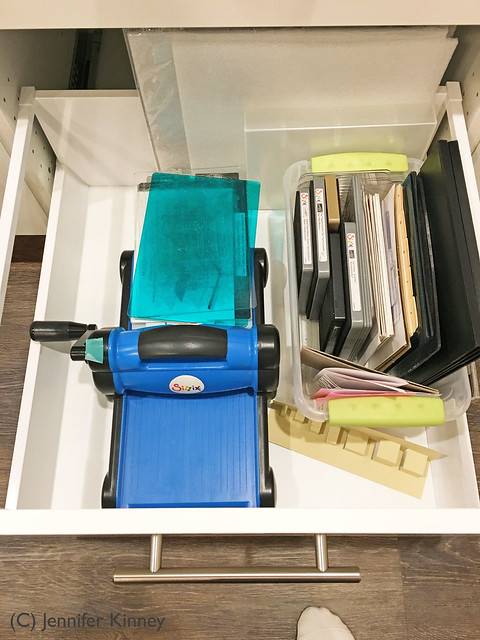
Big Shot and other die cut supplies.
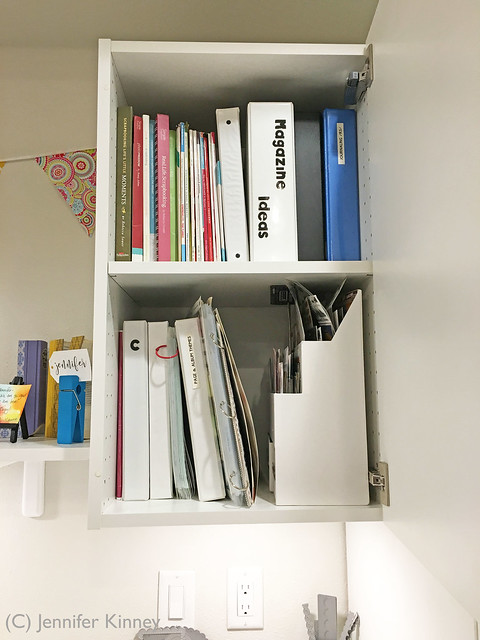
Upper cabinet on the right has magazines, idea books, and a cardboard storage container that holds some flat scrapbook embellishments.
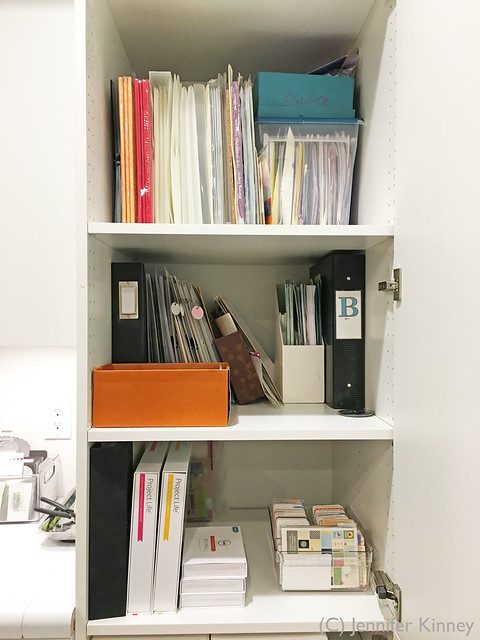
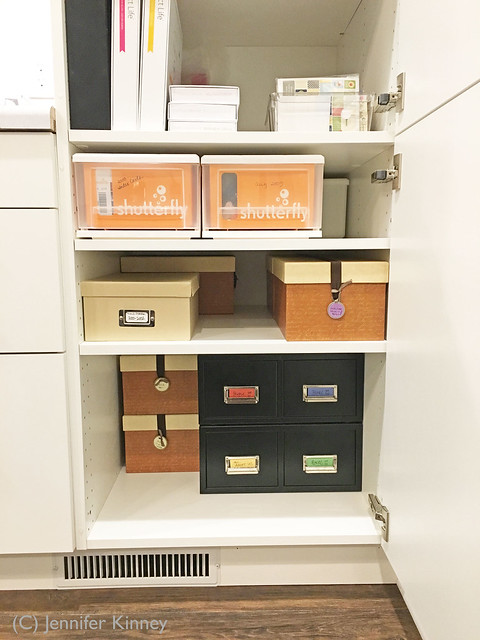
Pantry unit on the right holds scrapbook supplies and photos.
Open shelf. I have my MISTI and Score Pal in easy reach. I also found this nifty container at Home Goods and it's perfect to store my Zigs and Copics. I also have lots of colorful knick-knacks up here. You might be wondering what the big "stick" is behind my Score Pal and MISTI and that is a (very) large pencil I found in an antique store years ago.
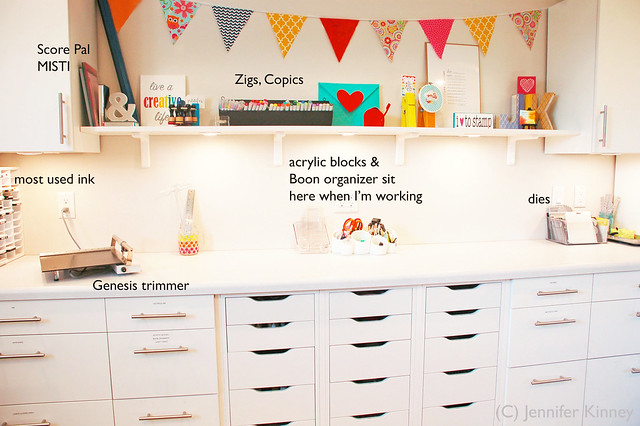
One thing I really, really wanted was better lighting. My husband installed this extra thin under cabinet lighting and it's great. It's so hard to work when you don't have proper lighting. I also want to get a different overhead light that is a little snazzier but I haven't found anything that is quite right yet.
WHEW! Are you still with me? What did you think? I love, love, love it. I did a lot (a lot!) of planning and my husband did an awesome job installing it for me.
Thanks so much for stopping in today!


