There's an unwritten policy at my DH's work and that is that you have to buy a Christmas present for your boss(es) and employee(s). Ugh. He spent as much on his bosses and employees as he did on me. As you can tell, I'm less than pleased with the dent this made in our Christmas budget.
Anyway, enough of my complaining. My DH is known for his salsa. It's good but it's hot. And I don't mean a little bit hot. I mean A LOT hot. Like, make-you-cry-and-sweat hot. Too much for me even though I beg him each year to make a batch that's milder. He tries. He really does. But I think his taste buds are all burned off and he can't tell what's mild anymore. So, along with a Target gift card, all his work recipients got a jar of "medium hot" salsa. And he asked me to fancy them up a bit.
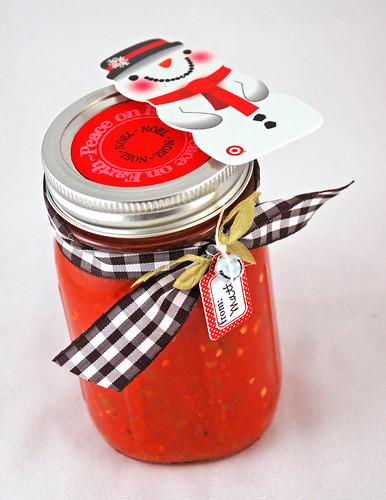
I punched a 2" circle from Pure Poppy, stamped it with some old Christmas stamps (don't recall the mfr but the designer is Danielle something - helpful, aren't I?). Tied a bow of black and white plaid ribbon around the neck of the Mason jar, cut a small length of leaf ribbon, a Tiny Tag die cut, and a bell that I had previously spray painted. I bought a bag of bells at Michael's and they were bright gold so I just spray painted them white. It took quite a while for them to dry.
Used a glue dot to stick the snowman gift card to the top and voila! A cute gift left on many desks at DH's work.
Supplies:
Stamps: Tiny Tags (PTI)
Other: plaid ribbon (Michael's), bell (Michael's), leaf ribbon and white twine (PTI)
Friday, December 30, 2011
Thursday, December 29, 2011
Christmas Thank Yous
Here's the quick and easy cards I whipped up for my kids to send their thank yous.
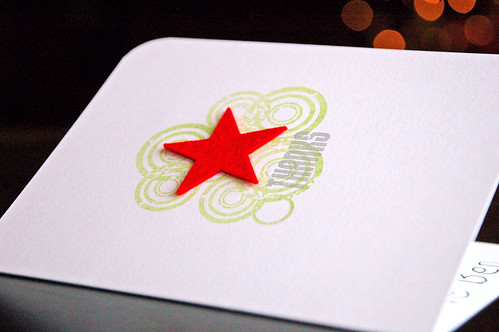
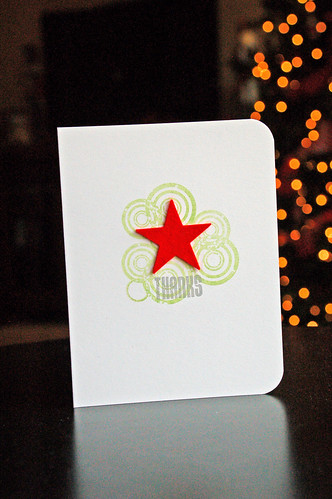
I stamped off once with the circles from Grunge Me so that they would be lighter and fade more into the background. Added a felt star and "thanks" and all done. Easy peasy lemon squeezy. :)
My DD11 followed this same design but made them herself using a less traditional and much more girly color palette: pink circles and turquoise felt star. It works and they're done. Can't ask for much more than that.
Supplies:
Stamps: Grunge Me (PTI)
Other: Pure Poppy felt (PTI)
Ink: Basil and Slate (Fresh Ink), Corner Chomper
I stamped off once with the circles from Grunge Me so that they would be lighter and fade more into the background. Added a felt star and "thanks" and all done. Easy peasy lemon squeezy. :)
My DD11 followed this same design but made them herself using a less traditional and much more girly color palette: pink circles and turquoise felt star. It works and they're done. Can't ask for much more than that.
Supplies:
Stamps: Grunge Me (PTI)
Other: Pure Poppy felt (PTI)
Ink: Basil and Slate (Fresh Ink), Corner Chomper
Wednesday, December 28, 2011
2011 Christmas card + letter
Last year I went easy on myself and did our annual Christmas card from Shutterfly. It was done in early October and was one less thing I stressed about as the season neared. This year, however, I decided to go back to making a card and including a letter.
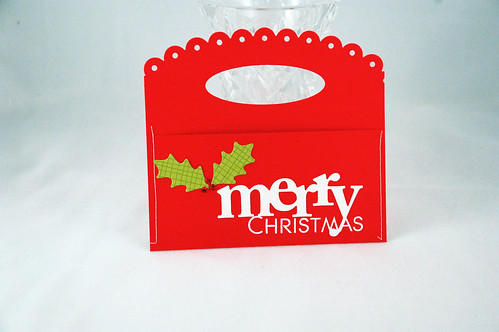
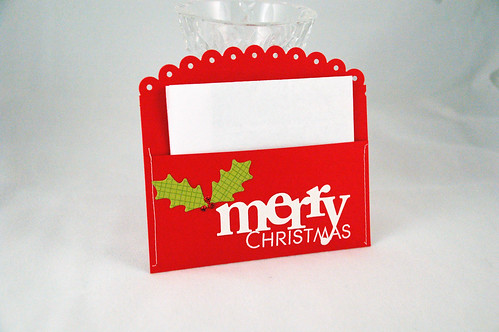
I used the Front and Center die from Papertrey Ink to create a pocket in which I placed my letter. I just scored the die cut a couple inches from the bottom, folded it, and sewed up each side to create the pocket.
I am so thankful for wonderful online friends Deb and Jennifer who sent me die cuts and a die so that I could make my vision for this card come to life. PTI happened to be out of stock of the "merry" die and they came to my aid. So thankful for them!
"Christmas" was embossed with white embossing powder to really make it pop against the red. The holly die cuts were stamped with a rubber stamp that I've had for ages. It gives a nice textured look to the dies. They were just so plain without it.
And you can't tell from these pictures but this particular card I die cut "merry" from some sparkle paper I picked up at Michael's. It was even already self-adhesive so it made assembly a breeze.
Three dots of red glitter Stickles for the berries and it's all done.
And here's the card with the letter inserted in it.
I hope you all had a merry and blessed Christmas. I'll be back in a few days to post the thank you cards I made for my kids to send out their thank yous.
Supplies:
Stamps: Wonderful Words: Holiday (PTI), Country Burlap (JRL Design)
Paper: Pure Poppy, Simply Chartreuse (PTI), white sparkle self-adhesive paper (Michael's)
Other: Front and Center Die, Wonderful Words: Holiday die, Holly Jolly die, Christmas Red Stickles
Tuesday, November 22, 2011
Wedding card
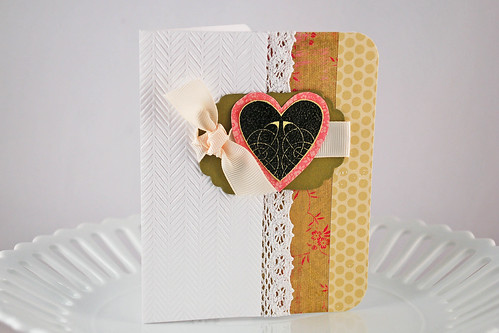
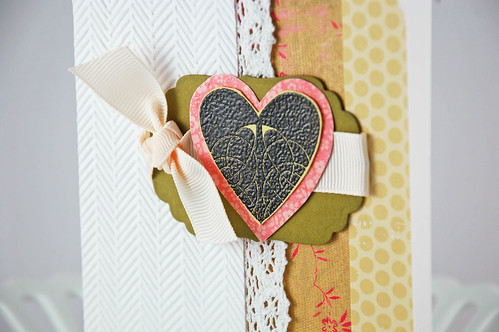
Here's a card I made for DH's cousin who married this fall. I CASE'd it from the delightful Melissa Phillips (sorry, I can't seem to find a link for her card.) I have such a hard time combining pattern paper and "fancifying" my cards but following Melissa's lead really helped. I just love how it turned out - such soft creams and whites mixed with greens and a touch of pink.
And here's a close-up of the embossed heart.
Supplies:
Stamps: Celtic Heritage (Waltzingmouse Stamps)
Cardstock: White and Ripe Avacado (PTI)
PP: green floral (MME), green polka dot (PTI), peach floral (MME)
Other: embossing folder (Provo Craft), Labels 4 (Spellbinders), lace (American Crafts), vintage cream ribbon (PTI), corner rounder (corner chomper)
And here's a close-up of the embossed heart.
Supplies:
Stamps: Celtic Heritage (Waltzingmouse Stamps)
Cardstock: White and Ripe Avacado (PTI)
PP: green floral (MME), green polka dot (PTI), peach floral (MME)
Other: embossing folder (Provo Craft), Labels 4 (Spellbinders), lace (American Crafts), vintage cream ribbon (PTI), corner rounder (corner chomper)
Saturday, November 5, 2011
Pocketfull of posies
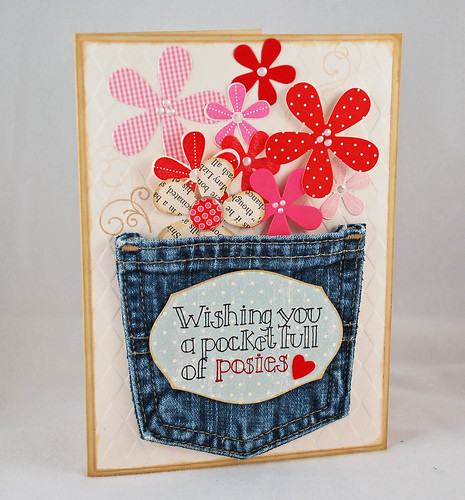
A very long time ago I purchased a pocket-themed stamp set from CTMH. I love the concept and haven't dared to part with the set even though I haven't used it all that frequently. I made this card for my mom's birthday back in September. Hope you like it!
The pocket is one I cut out of my son's infant-sized jeans. Every time he outgrew a pair I cut out the back pockets and have saved them ever since (he's now 7!) I always new I'd want to use it on a project - just didn't know what or when. lol
The card is a little bigger than an A2 but I don't recall the exact size - it's since been mailed and I didn't write it down. I do know, however, that it fits into a 5x7 envelope.
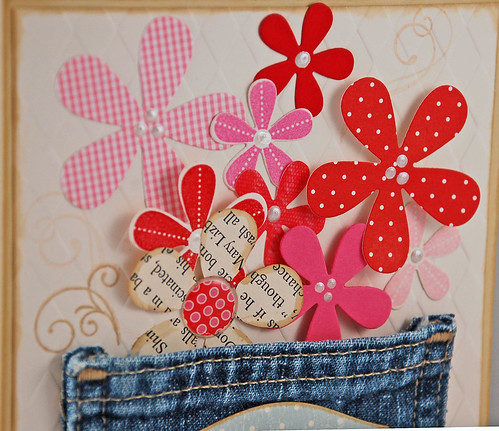
Here's a close-up of the flowers.
Supplies:
Stamps: CTMH, Beautiful Blooms (PTI), Fancy Flourishes (PTI)
Paper: Fine Linen, Vintage Cream, Hibiscus Burst, Pure Poppy polka dot (all PTI), pink gingham (Amuse), vintage text from old book
Ink: Pure Poppy, Hibiscus Burst, Sweet Blush (PTI)
Other: Beautiful Blooms dies (PTI), pearls, jeans pocket, heart punch (SU!), pop dots, impression plate (SU!)
Tuesday, October 25, 2011
Warm Wishes
Sunday, October 23, 2011
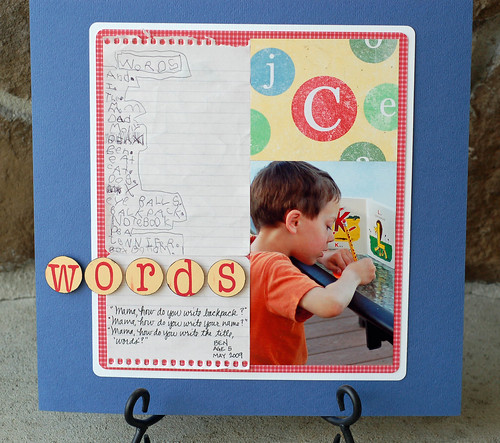
Words
Here's another layout share of my sweet little boy when he was just five and learning to write. I am so tickled that I kept his original notepaper that he used to practice writing his words. All too often these things get buried under other paper, lost, and forgotten. But not that day. Woohoo for me! lol
Tuesday, October 11, 2011
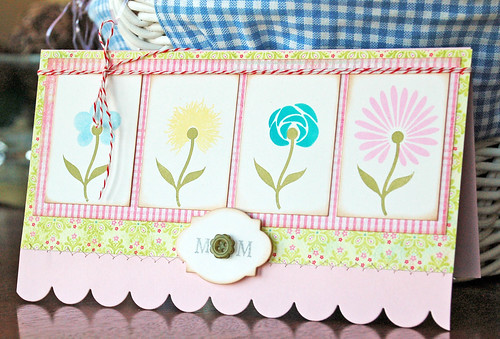
Mom
I completely CASE'd Betsy Veldman's card from 2010 CHA special stamp set (see card at her blog post here) to make this Mother's Day card for my MIL. It's just a tad different but only because I didn't have the same papers and, of course, Betsy's knack for knock out cards. :) Nevertheless, my MIL liked it.
Stamps: 2010 CHA set Four of a Kind (PTI)
Cardstock: Sweet Blush, Vintage Cream
PP: MME (I think)
Other: twine (PTI), label die from either Tea for Two or Friendship Jar (PTI), button from stash, scallop die, sewing machine
Stamps: 2010 CHA set Four of a Kind (PTI)
Cardstock: Sweet Blush, Vintage Cream
PP: MME (I think)
Other: twine (PTI), label die from either Tea for Two or Friendship Jar (PTI), button from stash, scallop die, sewing machine
Saturday, October 8, 2011
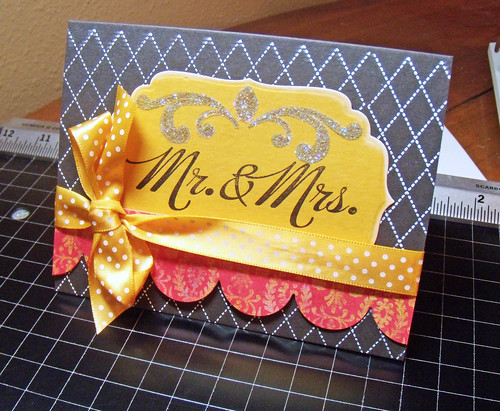
Mr. & Mrs.
Wednesday, October 5, 2011
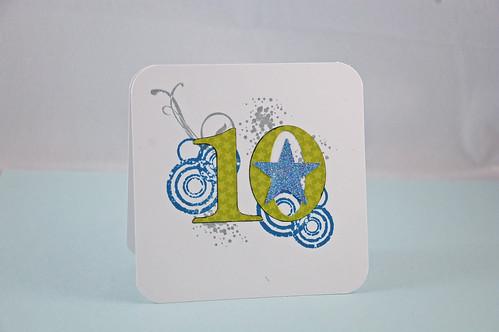
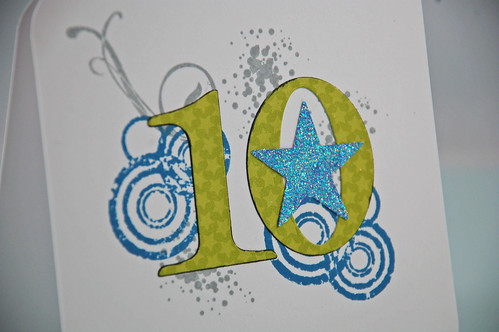
10
I needed a card for my 10-year old nephew so pulled out my Grunge Me set and By The Numbers dies and made him this card. I loved how it turned out and with just a change of the colors it could be for a boy or girl of any age.
I even added some sparkle to the star! Can you see it? :)
Stamps: Grunge Me (PTI)
Dies: By The Numbers (PTI)
I even added some sparkle to the star! Can you see it? :)
Stamps: Grunge Me (PTI)
Dies: By The Numbers (PTI)
Wednesday, August 24, 2011
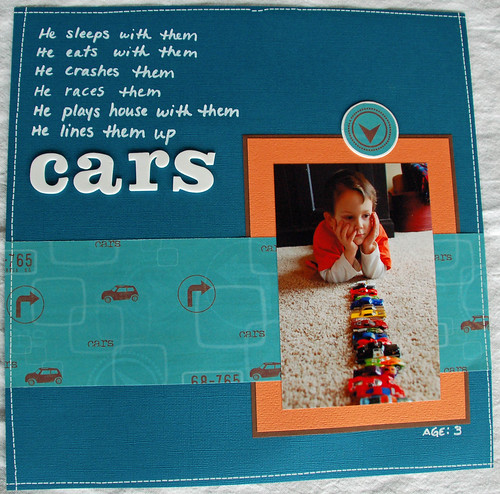
Cars
Monday, August 22, 2011
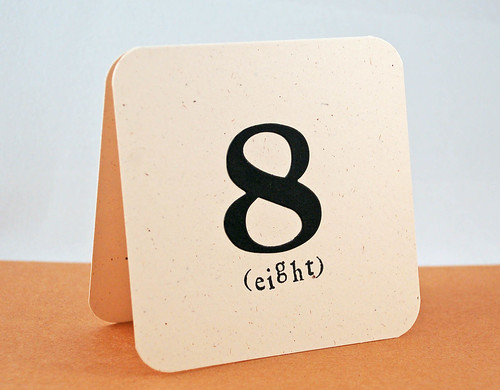
Just a number
I'm crazy about this clean, simple, and vintage-y concept for a card. Numbers, especially in black and white, are a trend I've been seeing a lot of lately. What I really wanted is a cool, old typeset style "No." and a reverse image of the word "birthday" (block image with word as a negative, so the block is inked but the paper color shows through in the negative of the word - does that make sense?) With those two stamps I could have done "birthday No. 8." I suppose I could have done that on the computer and printed it out but thinking about how to do it made my brain hurt. And I have too few brain cells left to be losing any more. ;)
This could be for a birthday or an anniversary or a "new home" - anything that might need a number. What do you think? Am I the only one that loves this super clean and simple card? :)
Supplies:
Stamps: PSX letter stamps
Paper: Rustic cream (PTI)
Other: By The Numbers die (PTI)
This could be for a birthday or an anniversary or a "new home" - anything that might need a number. What do you think? Am I the only one that loves this super clean and simple card? :)
Supplies:
Stamps: PSX letter stamps
Paper: Rustic cream (PTI)
Other: By The Numbers die (PTI)
Saturday, August 20, 2011
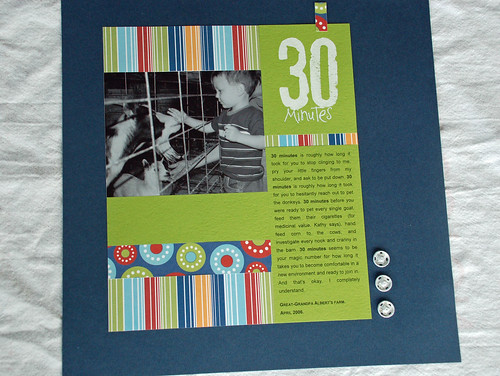
30 minutes
This is one of my very favorite scrapbook layouts. Not because of the design or the colors, even though I really like them. It's because I was able to capture a meaningful story about my son. So many of my kids' stories and anecdotes are lost because I don't write it down or capture it somehow. This one though, I had the time, I had the photo, and I had the story.
From the very beginning my son has been the type of person that requires some time (strangely it's nearly always about 30 minutes, hence the title of the page) to observe a situation and warm up to it before jumping in. I learned early on that forcing him to do something he's not ready for creates stress and anxiety for him and everyone around him. If it's not a big deal, I don't make it a big deal. He'll pet the goat when he's darn good and ready. And if he doesn't? So what.
Anyway, just wanted to share it. I photographed several more of my pages to share on here so you'll likely be seeing those interspersed with my cards over the next several weeks. Thanks for indulging me and my creative outlet. ;)
Wednesday, August 17, 2011
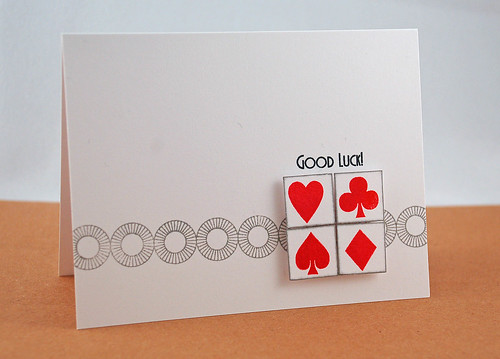
Good Luck card
I have a zillion ideas swirling in my head for using this set (What A Card!) from Mint Motif and/or some playing cards. Isn't it so fun? Kimberly did a great job with it!
Supplies:
Stamps: What A Card! (Mint Motif)
Paper: cardstock (PTI)
Ink: Smokey Shadow and Pure Poppy (PTI)
Supplies:
Stamps: What A Card! (Mint Motif)
Paper: cardstock (PTI)
Ink: Smokey Shadow and Pure Poppy (PTI)
Sunday, August 14, 2011
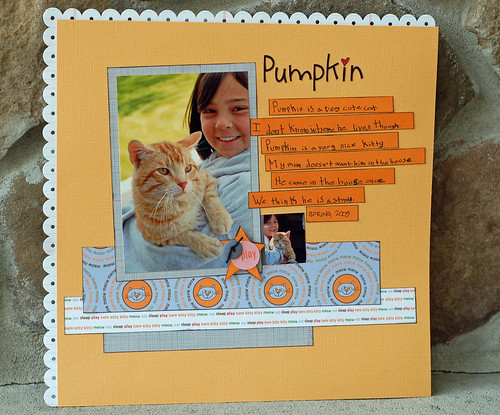
Pumpkin kitty
I don't think I've posted this page before. A cat was coming around our place for a week or two and DD fell in love with it. It must have eventually found its way home because we haven't seen it since. DD has been begging us for years to get a cat or dog but DH and I just haven't been able to give in. Yet. DD wrote the journaling.
Thursday, July 28, 2011
Glimmer Mist experiment
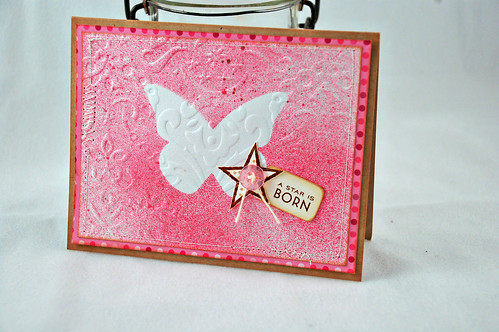
So, I see everyone using Glimmer Mist or products like it and decide I should try it out. I had this embossed piece of cardstock lying around and it was my first victim. First though I diecut a butterfly and temporarily adhered it to my piece of cardstock so that it would creative a negative impression.
I found a couple other extra die cuts in my bin and stuck them on the front of the card. A little PP and sewing and it's done. I'm not entirely happy with it but it was a good first experiment with Glimmer Mist.
Supplies:
Stamps: Favor It Baby
Other: Viva Pink Glimmer Mist
I found a couple other extra die cuts in my bin and stuck them on the front of the card. A little PP and sewing and it's done. I'm not entirely happy with it but it was a good first experiment with Glimmer Mist.
Supplies:
Stamps: Favor It Baby
Other: Viva Pink Glimmer Mist
Sunday, July 24, 2011
Baby cards
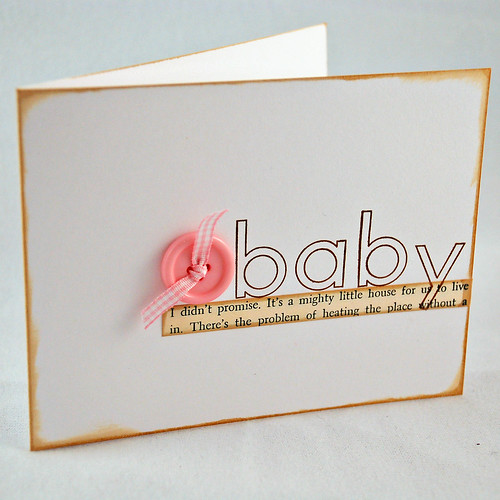
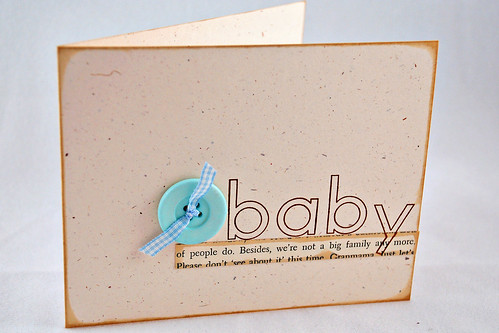
I made several quick baby cards all following this same pattern - just different colors. After I put the text paper down on this first card (the "pink" one) I realized that I adhered it too high and it looked a little off balance. It should have been placed a bit lower but pulling it off would have made a mess and it wasn't that bad so I just left it.
Nonetheless, when I made my next card, I adhered that book text strip a little lower on the card to hit the "rule of thirds" line.
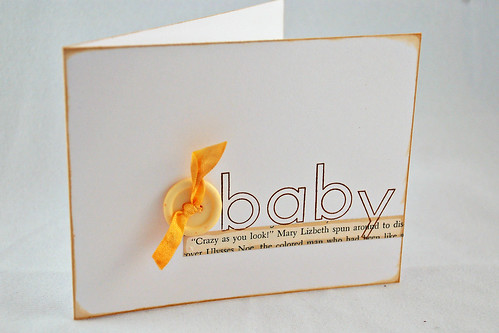
Here's the yellow one for when you just don't know yet what the little bambino is going to be - boy or girl.
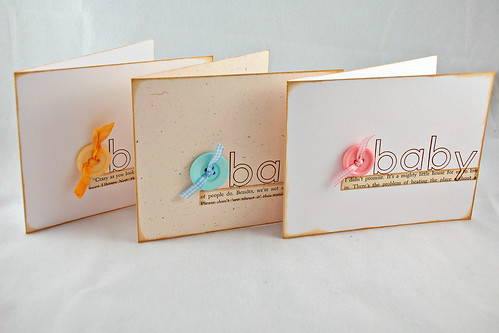
And all three together. So quick and simple and now I have three baby cards just waiting to be used.
Supplies:
Stamps: Outline Alphabet (PTI)
Paper: White and Rustic Cream (PTI)
Other: buttons (PTI), ribbons, text paper from an old book
Have a terrific week!
Friday, July 15, 2011
Graduation card
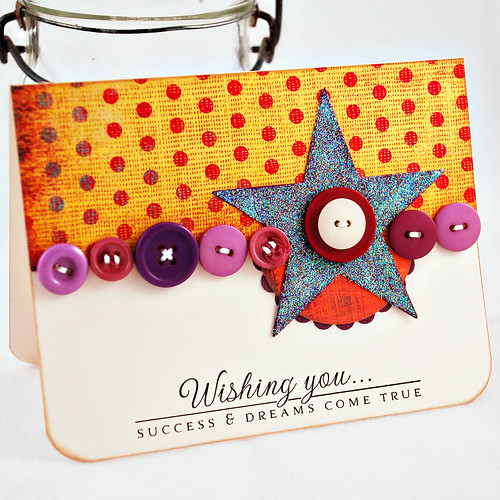
This design I copied from Melissa Phillips (I think). It was in a recent issue of Paper Crafts magazine. Like the last few cards I've made I've pushed myself to use up some of my scraps. My DH's niece was graduating from college and the school colors were purple and gold so that's why I went with these colors.
I punched out the star from a piece of purple cardstock, covered it with glue, and then with glitter. It's quite sparkly!
Hope you like it! :)
Supplies:
Stamps: For The Graduate (PTI)
Paper: Vintage Cream (PTI), patterned paper is from my stash
Other: star punch (EK Success), buttons (from my stash), embroidery floss
Monday, July 11, 2011
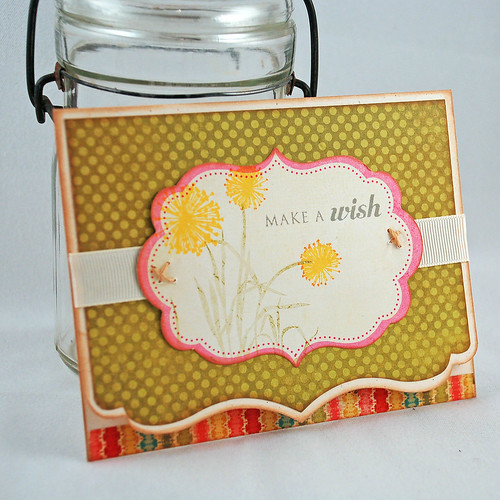
Make A Wish
I had this die cut (from MME?) sitting around and just started playing with it, pulling things out and putting things together. I did a little rock-and-roll technique with the dandelion-looking flower. Then I remembered the "Make A Wish" sentiment from the Cupcake Collection and thought it was a perfect match for the dandelion. Don't you think so?
I used a bit of twine to make a little x on each side of the die cut. It just seemed to call out for something and buttons didn't look quite right. I like the bit of rustic twine.
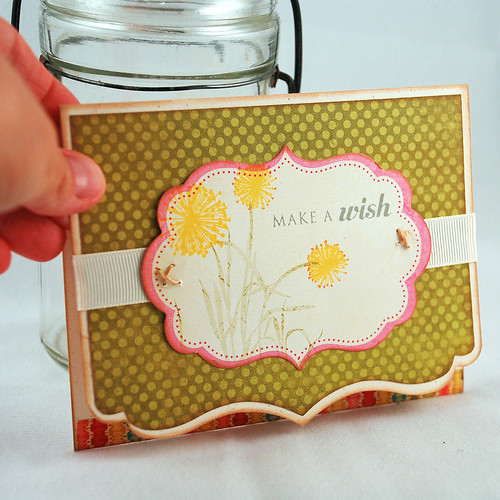
I used an edge die from Tim Holtz on the front of the card. I put a bit of patterned paper on the inside flap so the edge would stand out a bit more. It doesn't stand up very well like this so I'm holding it so you can kind of see a little better how it looks.
We're on vacation this week in St. Louis but I scheduled this post so you'd have something to look at while I'm gone. I'm going to see if I can't get one more scheduled to go. Have a fantastic week!
Supplies:
Stamps: Botanical Silhouettes, Cupcake Collection (PTI)
Paper: Vintage Cream, patterned paper (MME)
Other: twine (PTI), die cut (MME), ribbon (PTI), edge die (Tim Holtz)
Friday, July 8, 2011
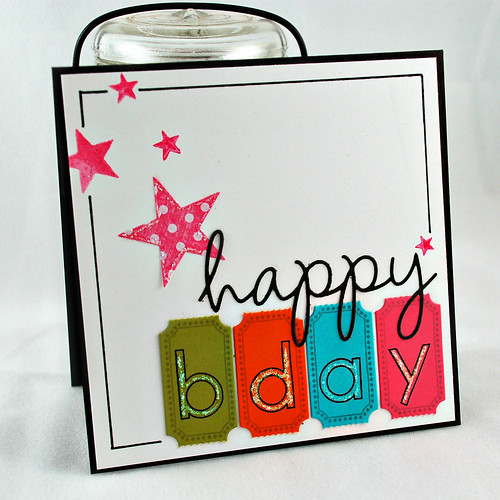
Birthday Ticket
This idea popped into my head the other day so I thought I better put it to paper. It actually turned out pretty close to how I saw it in my head. That doesn't always happen.
I die cut some tickets from various colors of cardstock and then die cut the word "happy". The black line was hand drawn around the edge of the card. After it was all assembled I thought it needed a little something more so I added the Stickles to the letters and to the big star. It seemed to give it that little "oomph" that it needed.
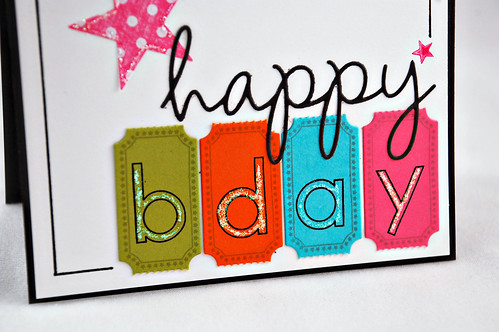
Here's a close-up of the tickets...
Change up the color scheme and the word on the tickets ("baby", "girl", "boy", "love"...) and you could make a variety of cards with this design.
Supplies:
Stamps: Just the Ticket; Outline Alpha, Star Prints, All Star Team (all PTI)
Paper: Smokey Shadow, White, Simply Chartreuse, Orange Zest, Hawaiian Shores, Raspberry Fizz (all PTI)
Patterned paper: from my stash
Other: Just the Ticket die, Wonderful Words die (all PTI); Stickles; star punch, American Crafts black pen
Tuesday, July 5, 2011
Card of scraps
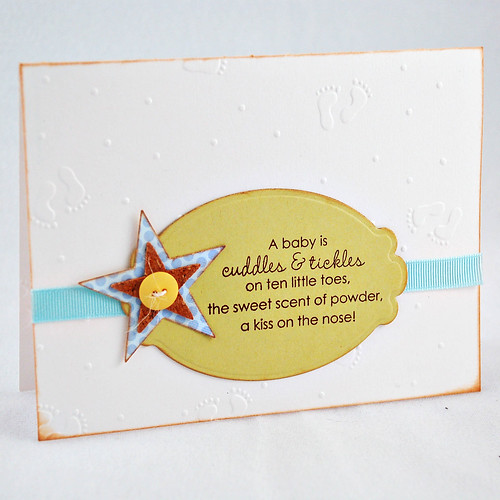
Every single piece of this card was a scrap. A leftover. An extra. I have a bucket where I put extra die cuts and I noticed the blue polka dot star on top of the green label and I liked it. I thought I could work it into a baby card. And then I remembered that I had a card with embossed baby feet on it. That thing is so old (easily 10 years!) I don't even remember what brand it is. Then I saw the cork star. And then the ribbon piece. The blue ribbon doesn't quite match but you know what? It was a scrap and by gum I was going to use it. That was the deal with this card - use up some of my crap stuff.
Thanks for stopping by today! :)
Supplies:
Stamps: Inside and Out: Baby (PTI)
Paper: white embossed paper is from my stash; Spring Moss (PTI)
Ink: Creamy Brown (Clearsnap)
Other: cork; ribbon, button, twine, nestability die (Spellbinders), star die (SU!)
Thanks for stopping by today! :)
Supplies:
Stamps: Inside and Out: Baby (PTI)
Paper: white embossed paper is from my stash; Spring Moss (PTI)
Ink: Creamy Brown (Clearsnap)
Other: cork; ribbon, button, twine, nestability die (Spellbinders), star die (SU!)
Friday, July 1, 2011
You Rock
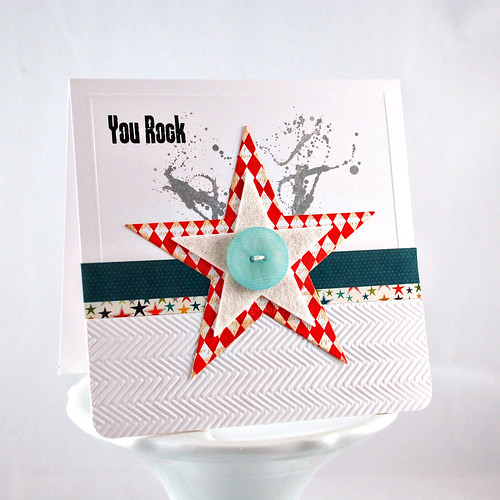
I'm in love with this card. Sorry. I just am. Is that okay to say about my own stuff? I love all the white, I love the texture, I love the stars, I love the colors.
This one started out as a "mojo starter." I wanted to make something but I needed something to get me going. I grabbed my A Little Argyle stamp set and Pure Poppy ink and started covering a piece of white cardstock. Wow, talk about making your eyes cross. All that red argyle against white paper. Stunning, but a little less please. So, I went back over the argyle with Text Style and Antique Linen ink. It softened it just right. Then I decided to cut stars out of the background pattern I just made. Then the card just spiraled from there, my "mojo starter" did just what I wanted it to - it led me right into this card.
It's going to be hard giving this one away. Do you ever get that way about some of your cards? This one is going to have to be saved for someone very special. *wink*
Supplies:
Stamps: A Little Argyle, Text Style, Grunge Me (all PTI)
Ink: Pure Poppy (PTI), Antique Linen (Ranger)
PP: Lime Twist (MME)
Other: button, felt, dies (all PTI), corner rounder, texture folder (Cuttlebug/Provo Craft), Scor-Pal for the scored border
Thursday, June 30, 2011
Teacher cards
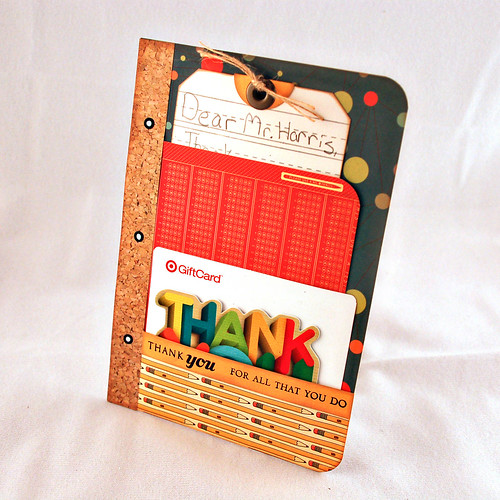
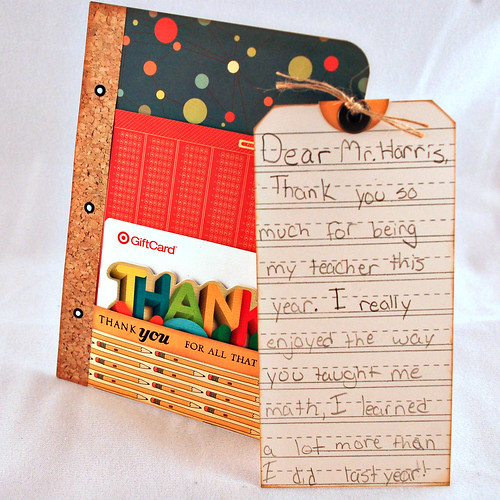
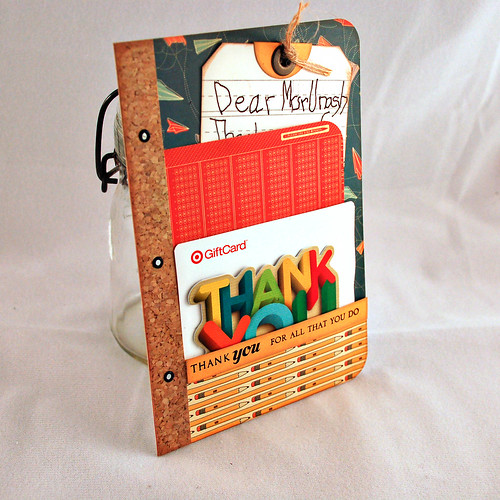
These are the cards I made for my kids' teachers this year. They do not open but rather they have pockets on the front to hold the gift card and the note from the kids. I had a lot of fun with this one and really like the design of it. I want to try it again with a different theme - wedding perhaps?
Here's the note my DD tucked behind the red flap. The lines are stamped from the Library Ledger set.
And here's one my DS did.
Hope you liked it!
Supplies:
Patterned Paper: the Boyfriend (Cosmo Cricket), cork (unknown)
Stamps: Library Ledger, Cupcake Collection, Big and Bold Wishes (all from PTI)
Other: eyelets, twine, corner rounder
Monday, June 27, 2011
Absolutely Fabulous!
I'm turning 40 this year and so are most of my high school and college girlfriends. I made several cards in this same design because I just loved how feminine and frilly and flirty it turned out. I'm getting a lot of use out of the "40 and Fabulous" type sentiments... ;)
Supplies:
Stamps: Fancy Flourishes, Everyday Classics (PTI)
Dies: scallop edge (PTI)
Other: Dark Chocolate grosgrain ribbon (PTI), pink bling
PP: there's a little bit of everything - some My Mind's Eye, some PTI, some misc from my stash...
CS: Vintage Cream (PTI)
Supplies:
Stamps: Fancy Flourishes, Everyday Classics (PTI)
Dies: scallop edge (PTI)
Other: Dark Chocolate grosgrain ribbon (PTI), pink bling
PP: there's a little bit of everything - some My Mind's Eye, some PTI, some misc from my stash...
CS: Vintage Cream (PTI)
Saturday, June 25, 2011
PTI June Blog Hop
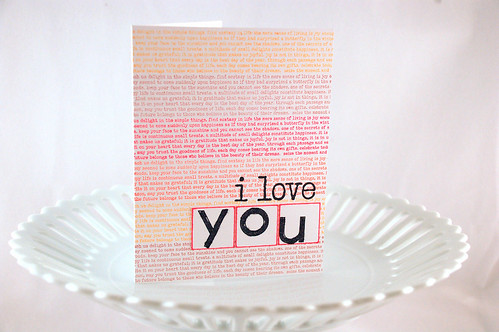
The challenge for the June Papertrey Ink Blog Hop is to use the lovely photo above to inspire a card creation. My card took a rather literal interpretation.
I used Text Style to create strands of rainbow colors on the background. I then punched a few squares and stamped the word "you" on them. I purposefully did not stamp them in the middle of the square to give it more of a fun and carefree feeling. It's quite hard to see but I filled in the Outline Alphabet with black glitter. It can be seen in person but my camera just wasn't able to capture it. That's it - easy peasy lemon squeezy.
Have fun on the rest of your hop!
Supplies:
Stamps: Wonderful Words Additions, Outline Alphabet, Text Style (all from PTI)
Other: black glitter (Martha Stewart), square punch
Friday, June 24, 2011
Mother's Day
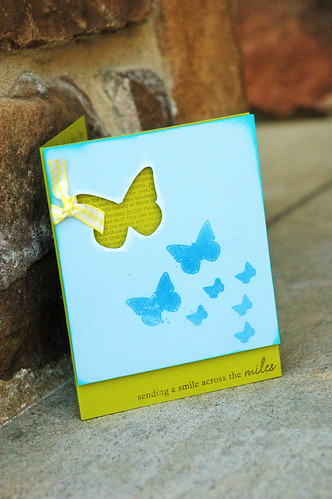
Here's the card I made for my mom for Mother's Day. I don't have any specific sentiments that say "Happy Mother's Day" so I made do with this sentiment from Everyday Button Bits..."Sending a smile across the miles." Since we live about four hours apart I thought that would work.
Please just ignore my little goof of embossing powder. Not sure what happened but I chose to leave it as is. For some reason I kind of liked the little imperfection. I know, kind of weird.
I'm not sure if you can tell but the whole layer of Aqua Mist is popped up on top of the Simply Chartreuse; it adds a little depth to the card.
Supplies:
CS: Aqua Mist and Simply Chartreuse (PTI)
Stamps: Everyday Button Bits, Butterfly Dreams, Text Style (PTI)
Dies: Butterfly (PTI)
Other: embossing powder and ribbon from my stash
Thursday, June 23, 2011
Girly, You Rock!
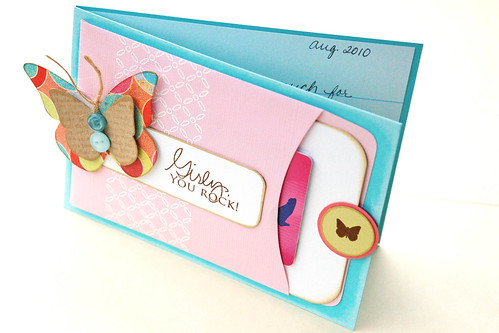
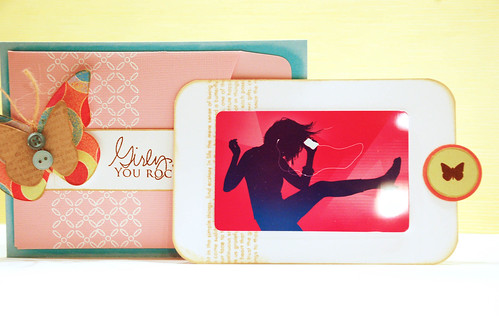
*tap, tap, tap* Is this thing on? Hello? Anyone out there? I'm back in the groove of crafting and blogging and wanted to share a few things I've made lately. This gift card holder we made for our summer nanny. What college kid wouldn't enjoy an iTunes card, right? :)
Supplies:
Stamps: Background Basics: Retro, Signature Greetings, Text Style, Butterfly Dreams (all from PTI)
Die: SU! Bigz die for the butterfly
Pocket: Bazzill (pre-made)
Thanks so much for stopping by today! I have several more things I want to post so I just need to get going on the uploading, editing, and creating blogposts.
Subscribe to:
Posts (Atom)