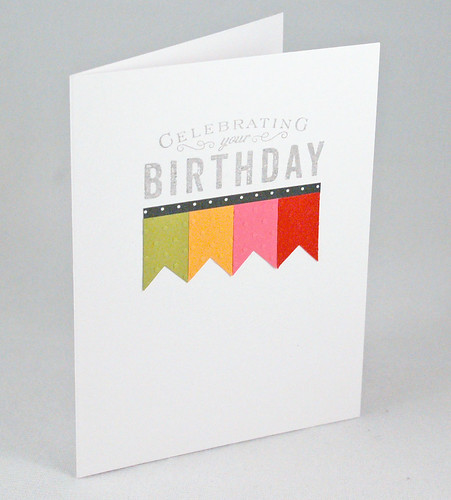
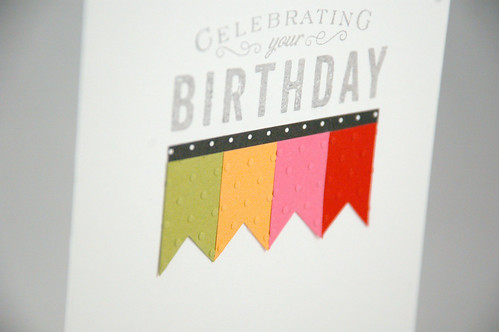
This first card uses Simply Chartreuse, Summer Sunrise, Hibiscus Burst and Pure Poppy for the banners on a white background. Ink is Slate by Fresh Ink.
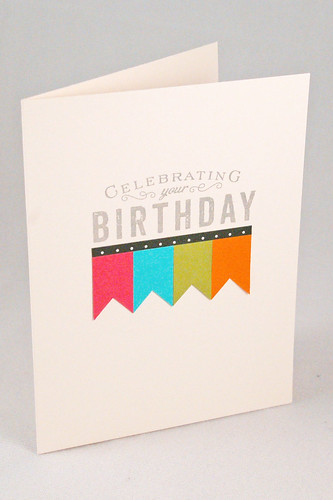
The other card uses Raspberry Fizz, Hawaiian Shores, Simply Chartreuse and Orange Zest banners on a Vintage Cream card base. The sentiment is stamped in Slate by Fresh Ink. It's a really lovely shade of mid-tone gray. I stamped it a little low on the card and it looks a little funny but not funny enough to throw it out. Someone will get it and not by the wiser. ;)
I (still) don't have banner dies but I picked up this tip to make your own banners somewhere in blogland and thought that it was genius. You simply use a corner of a piece of paper, trace it at the end of your strip, and then cut it out.
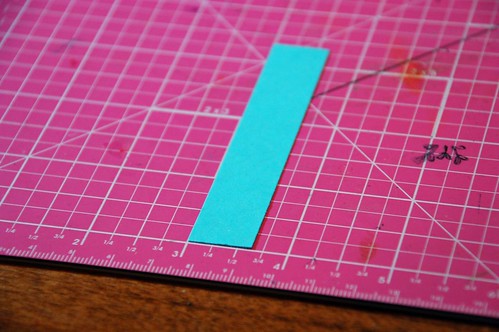
I took some pictures so you can see what I mean.
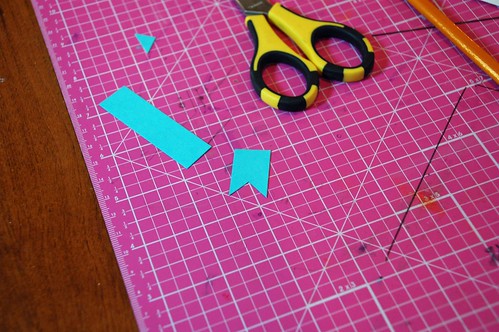
Here's my strip of paper - 5/8" wide.
Take the square corner of a piece of paper and line it up so that the tip is in the middle of your strip, like this.

Then take a pencil and trace around the white piece of paper onto your strip. You'll have a bitty triangle.

Cut the tiny triangle out.

Trim your banner to whatever length you want. Here, I used 1" long banners.
To make it easy on myself, I simply traced this banner edge onto the rest of my paper strips.

Voila! Banners! :)
I really loved the simplicity of these cards and how I can change up the banner colors to whatever I want. Maybe this design would be good for graduation cards in school colors...? Or baby colors for a new arrival...?
Thanks for visiting and I hope you have a great day!
Supplies:
Stamps: Movers and Shakers (PTI)
Ink: Slate (Fresh Ink)
Paper: Vintage Cream, White, Raspberry Fizz, Hawaiian Shores, Simply Chartreuse, Orange Zest, Summer Sunrise, Hibiscus Burst, Pure Poppy (PTI), Black and White polka dot paper is PTI
Other: embossing folder (Provocraft)
8 comments:
Love this CAS card! Thanks for the tutorial!
Great card! Love the idea for the banners, thanks for the inspiration!!
This is such a simple, yet striking card. It looks really great with that particular sentiment. Thanks for the hint on the banners.
Have I told you how much I love you? *grin*
You are so inspiring Jennifer. I really like these CAS cards (especially the cream one)but your tip is genius. And easier than I have been doing it. thank you.
Jennifer, first of all, terrific cards! I love that you got your idea from an unexpected place! (I once was inspired by tiles on a casino wall--try explaining to security that you're sketching them to *design a card* . . . that was a new one for them!) Secondly, I love the do-your-own banner tip, and am so embarrassed that I never thought of this on my own, LOL! Thanks for sharing!
Love your card, Jennifer. Thanks for the tutorial.
Cute, cute cards! The little banners are adorable! Thanks for the tutorial!
pretty!
Post a Comment